创建和查看访问令牌
目录
🌐 You can create and view access tokens from the website and command line interface (CLI).
创建访问令牌
🌐 Creating access tokens
在网站上创建粒度访问令牌
🌐 Creating granular access tokens on the website
-
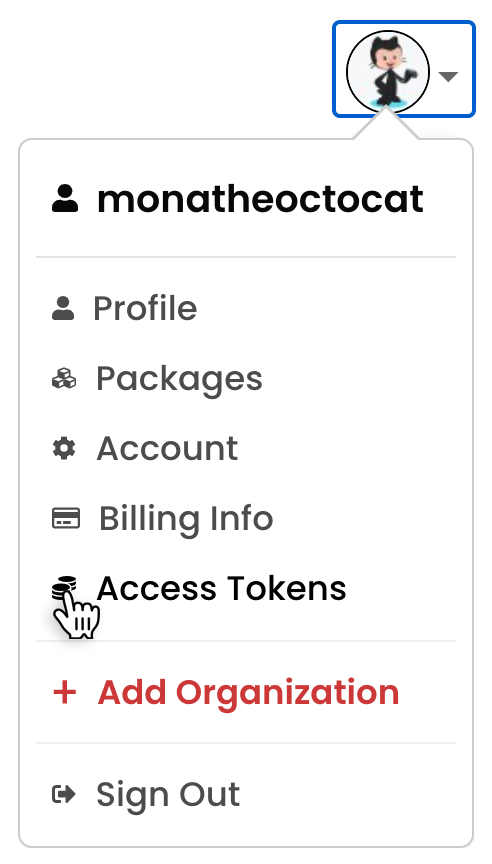
在页面右上角,点击你的头像,然后点击 访问令牌。
-
点击 生成新令牌。

-
在 令牌名称 字段中,输入你的令牌名称。
-
(可选) 在 描述 字段中,输入你的令牌描述。
-
(可选)如果你希望此令牌在进行写操作时绕过双因素认证,请勾选 绕过双因素认证 复选框。
- 此设置默认未选中(false)。
- 选中此复选框后,即使在账户或软件包级别启用了双重身份验证 (2FA),此令牌也将绕过 2FA 进行写入操作。
-
(可选)在 允许的 IP 范围 字段中,输入 IP 地址范围以限制你的访问令牌访问。你必须使用 无类域间路由 表示法输入 IP 地址范围。要添加多个允许的 IP 范围,请点击 添加 IP 范围 并在新的文本字段中输入一个 IP 范围。
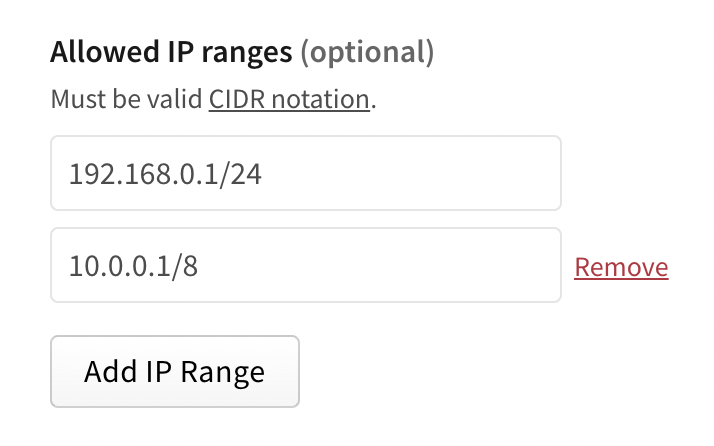
-
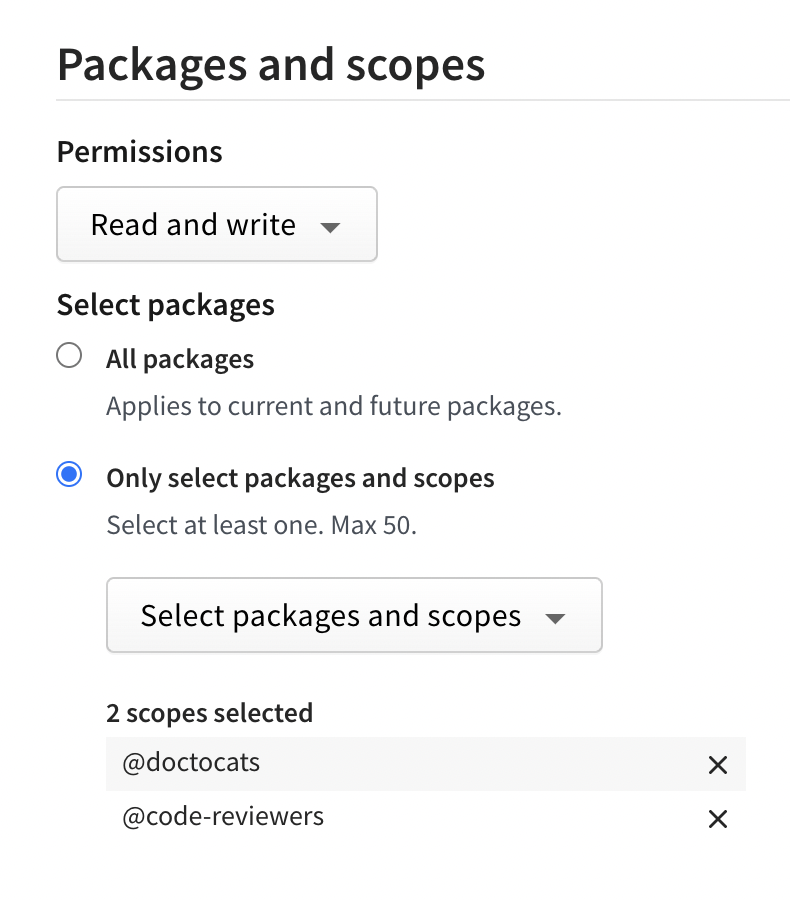
(可选)在软件包和范围部分,配置你的令牌对软件包和范围的访问权限。
- 在 权限 下拉菜单中,选择 无访问权限、只读 或 读写。
- 在 选择软件包 下,选择以下之一:
- 所有软件包 以授予令牌访问用户账户可以访问的所有软件包的权限。
- 仅选择特定的包和范围,以选择最多 50 个特定的包或范围来授予令牌访问权限。然后从下拉菜单中选择特定的包或范围。
-
(可选) 在 组织 部分,配置你的令牌对组织的访问权限。
- 在 权限 下拉菜单中,选择 无访问权限、只读 或 读写。
- 在 选择组织 下,选择你想要授予令牌访问权限的组织。
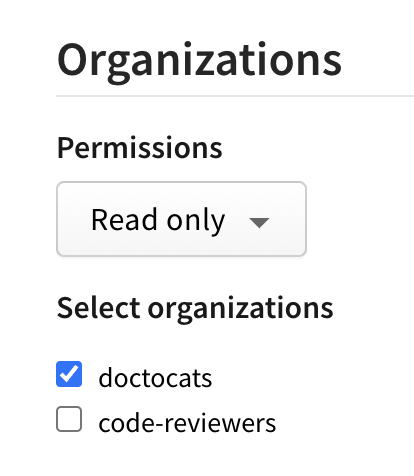
注意:当你授予令牌访问某个组织的权限时,该令牌仅可用于管理组织设置以及与组织相关的团队或用户。它并不赋予令牌发布由该组织管理的软件包的权限。
-
在过期时间字段中,从下拉菜单中选择令牌的过期期限。你可以从预定义选项中选择,或者选择自定义,通过日期选择器指定自定义的过期日期。
_注意:日期必须至少比今天晚1天。
-
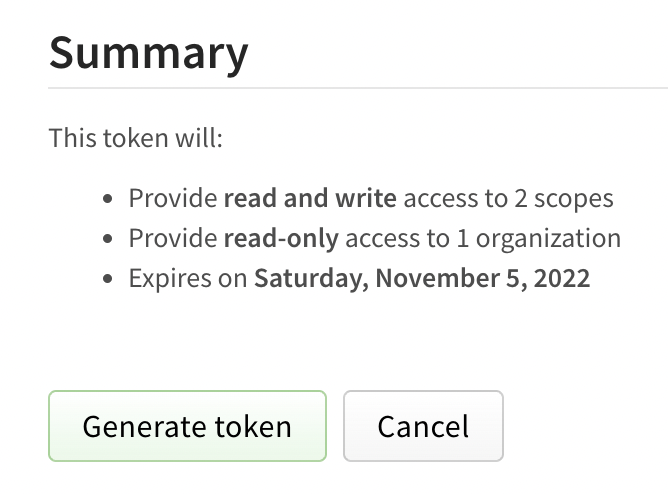
查看令牌摘要,然后点击 生成令牌。
- 从页面顶部复制令牌。
使用 CLI 创建令牌
🌐 Creating tokens with the CLI
注意: 目前你无法通过 CLI 创建细粒度访问令牌。你必须使用网站来生成这类令牌。未来将会在 npm token CLI 命令中添加创建细粒度访问令牌的支持。欲了解更多信息,请参见“在网站上创建细粒度访问令牌”。
查看访问令牌
🌐 Viewing access tokens
注意: 完整的令牌永远不会显示,只会显示前四个和后四个字符。你只能在令牌创建后立即查看完整令牌。
在网站上查看令牌
🌐 Viewing tokens on the website
要查看与你的账户相关的所有令牌,请在页面右上角点击你的头像,然后点击 访问令牌。
🌐 To view all tokens associated with your account, in the upper right corner of the page, click your profile picture, then click Access Tokens.
在 CLI 上查看令牌
🌐 Viewing tokens on the CLI
要查看与你的账户关联的所有令牌,请在命令行上运行以下命令:
🌐 To view all tokens associated with your account, on the command line, run the following command:
npm token list
令牌属性
🌐 Token attributes
- id: 在命令中使用令牌 ID 来引用该令牌。
- token: 实际令牌的前几位数字。
- 创建时间: 令牌创建的日期。
- CIDR 白名单: 通过 IP 地址限制令牌使用。